 Pin It
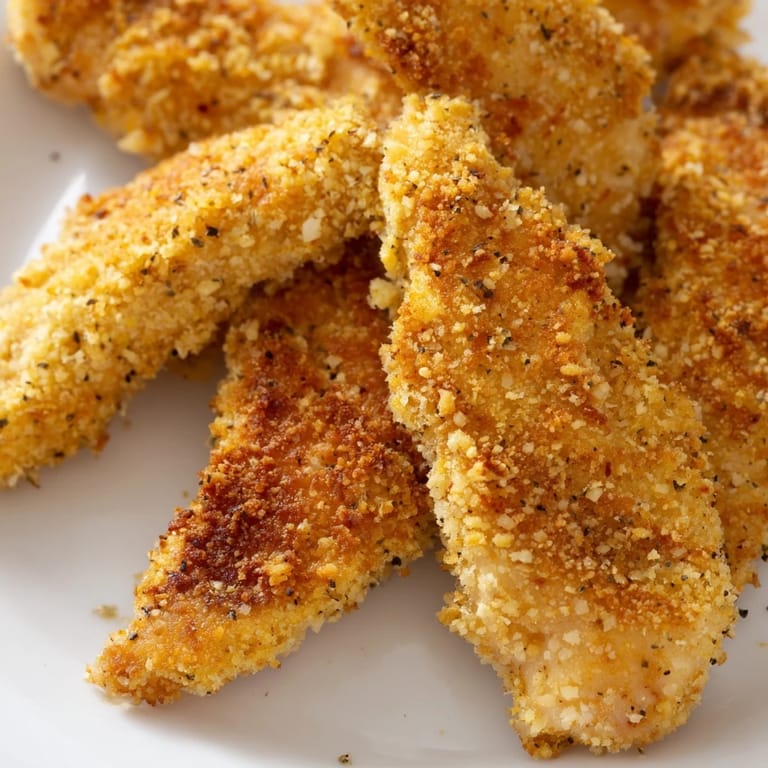
 My daughter used to push away anything breaded until the night I baked these instead of frying them. The panko stayed so crisp she thought they were from a restaurant, and I didn't have the heart to tell her how ridiculously easy they were. Now she asks for them every week, and I've stopped pretending they're complicated.
I started making these for game nights when I got tired of ordering takeout that arrived cold and soggy. The first batch disappeared so fast I had to guard the second tray in the oven. One friend still texts me every few months asking if I'm making the chicken strips again, which is both flattering and slightly embarrassing.
Ingredients
- Boneless, skinless chicken breasts or tenders (500 g): Tenders are faster and more uniform, but breasts work beautifully if you slice them into even strips so they cook at the same rate.
- Salt (1/2 tsp) and black pepper (1/4 tsp): Simple seasoning on the chicken itself ensures every bite has flavor, not just the crust.
- All-purpose flour (100 g): The dry first layer helps the egg mixture stick, creating a foundation for that crispy panko shell.
- Large eggs (2) and mayonnaise (2 tbsp): The mayo adds richness and helps the panko cling like glue, you can swap in Greek yogurt for tang if you prefer.
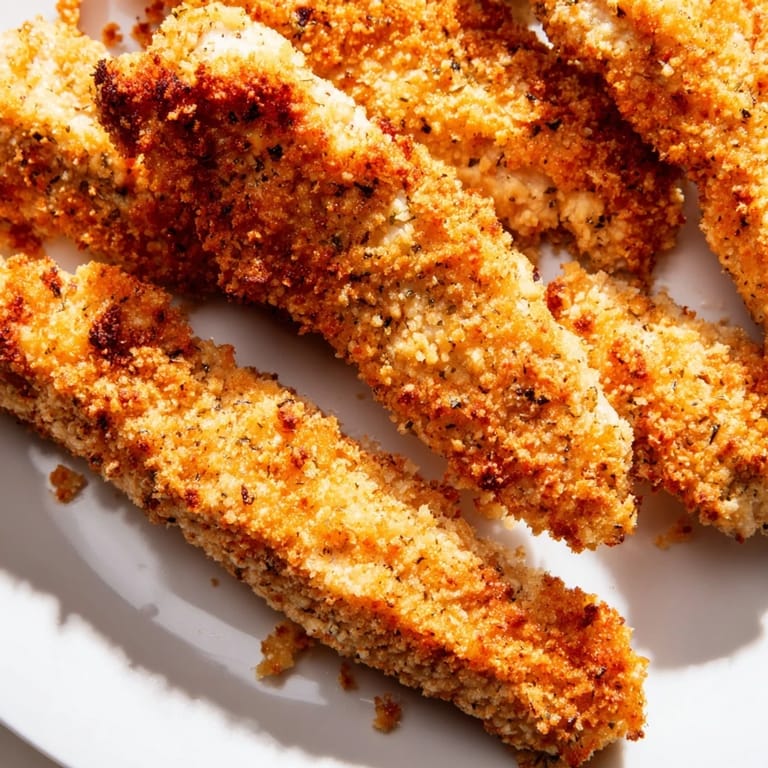
- Panko breadcrumbs (120 g): Their airy, jagged texture crisps up better than regular breadcrumbs, giving you that satisfying crunch in every bite.
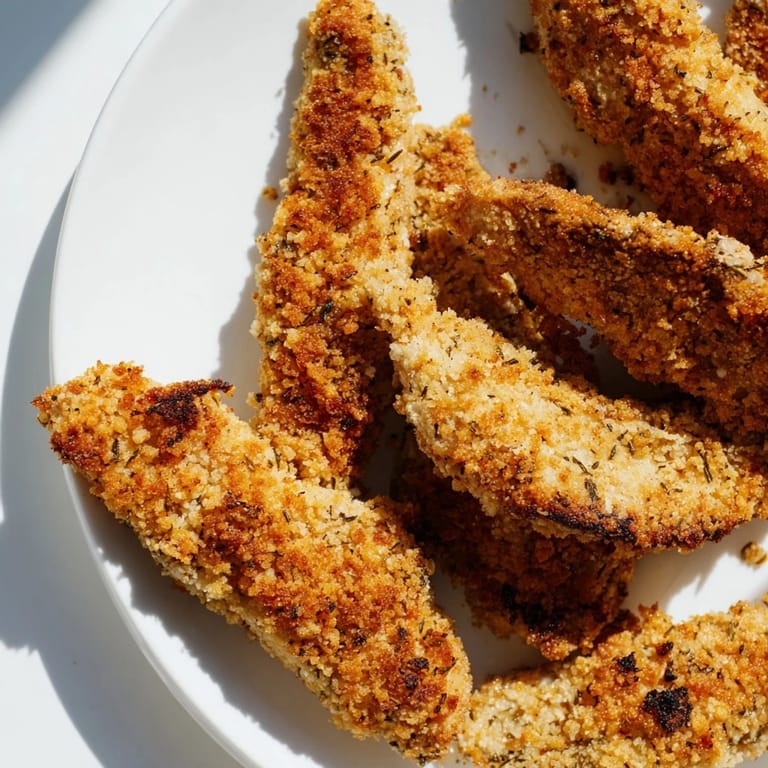
- Dried Italian herbs (1 1/2 tsp): A blend of oregano, thyme, and basil brings warmth and complexity without needing a spice cabinet raid.
- Garlic powder (1/2 tsp) and smoked paprika (1/2 tsp): They add savory depth and a hint of smokiness that makes the strips taste more interesting than plain breaded chicken.
- Cayenne pepper (1/4 tsp, optional): Just a pinch gives a gentle kick without overwhelming kids or spice-sensitive eaters.
- Olive oil (2 tbsp): A light drizzle before baking encourages golden browning and keeps the panko from tasting dry.
Tired of Takeout? 🥡
Get 10 meals you can make faster than delivery arrives. Seriously.
One email. No spam. Unsubscribe anytime.
Instructions
- Preheat and Prep Your Pan:
- Set your oven to 220°C (425°F) and line a baking sheet with parchment paper, or better yet, set a wire rack on top so air circulates underneath for extra crispiness. This step makes all the difference between soggy bottoms and all-around crunch.
- Prep the Chicken:
- Pat the chicken completely dry with paper towels, then slice it into strips about 2 cm wide so they cook evenly. Season both sides with salt and pepper, this is your only chance to season the meat itself.
- Set Up Your Breading Station:
- Arrange three shallow bowls in a row: one with flour, one with eggs whisked smooth with the mayonnaise, and one with panko mixed with all the herbs and spices. Having them lined up like an assembly line keeps your hands from getting too messy.
- Coat Each Strip:
- Dredge a chicken strip in the flour, shake off the excess, dip it into the egg mixture until fully coated, then press it into the panko, turning to cover every side. Lay each finished strip on the prepared baking sheet without crowding them.
- Add the Oil and Bake:
- Drizzle or spray the coated strips lightly with olive oil, which helps them turn golden and crisp. Bake for 18 to 22 minutes, flipping them halfway through, until they're deeply golden and the internal temperature hits 74°C (165°F).
- Rest and Serve:
- Let the strips cool on the pan for 2 to 3 minutes so the crust sets and stays crispy when you bite in. Serve them hot with your favorite dipping sauce and watch them vanish.
 Pin It
 The night my brother brought his new girlfriend over, I made a double batch of these and set out four different dipping sauces. She ate six strips and told him she was keeping me in the divorce if they ever got married. He laughed, but I think she was serious, and honestly, I'd understand.
Dipping Sauce Ideas
Honey mustard is my go-to because the sweetness plays perfectly with the savory herbs, but ranch, spicy sriracha mayo, and even a tangy barbecue sauce all work beautifully. I like to set out a few options and let everyone choose their own adventure. Sometimes I'll whisk together Greek yogurt with a little lemon juice and dill for a lighter, fresher dip that feels almost virtuous.
Make-Ahead and Storage
You can bread the strips a few hours ahead and keep them covered in the fridge until you're ready to bake, which is a lifesaver when you're hosting. Leftovers keep in an airtight container in the fridge for up to three days, and they reheat wonderfully in a 200°C (400°F) oven or air fryer for about 5 minutes until they're crispy again. Microwaving will make them sad and rubbery, so resist the temptation.
Serving Suggestions
These strips are perfect alongside a simple green salad, roasted sweet potato wedges, or even tucked into a wrap with lettuce and tomato for a quick lunch. They're also great for meal prep because they hold up well and taste delicious cold or reheated. If you're feeding a crowd, double the batch and set up a little dipping station so everyone can help themselves.
- Pair them with coleslaw and corn on the cob for a casual summer dinner that feels like a backyard cookout.
- Serve them over a bed of mixed greens with a drizzle of balsamic for a lighter, salad-style meal.
- Pack them in lunchboxes with carrot sticks and a small container of ranch for a kid-approved meal that doesn't need reheating.
 Pin It
 Every time I pull a tray of these out of the oven, the kitchen smells like a Friday night, and everyone gravitates toward the counter without being called. It's the kind of recipe that turns a regular dinner into something people remember, and that's exactly what I want my cooking to do.
Recipe FAQs
- → How do I achieve maximum crispiness?
Use a wire rack on your baking sheet to allow air circulation underneath the chicken. Flip the strips halfway through baking and lightly drizzle or spray with olive oil before baking. Let cool for 2-3 minutes after removing from the oven to allow the coating to set and crisp up further.
- → Can I prepare these strips in advance?
Yes, you can bread the chicken strips up to 24 hours ahead. Place them on a baking sheet, cover with plastic wrap, and refrigerate. Bake from cold, adding 2-3 minutes to the cooking time. You can also freeze breaded strips for up to 3 months and bake directly from frozen, extending cooking time by 5-7 minutes.
- → What's the best way to check if chicken is fully cooked?
Use a meat thermometer to ensure the internal temperature reaches 74°C (165°F) at the thickest part. Alternatively, cut into the thickest strip—the juices should run clear with no pink flesh visible. This ensures food safety while keeping the chicken tender.
- → How can I make this gluten-free?
Simply substitute regular flour with gluten-free all-purpose flour and use gluten-free panko breadcrumbs. Check that your mayonnaise or yogurt is certified gluten-free. The cooking process remains identical, and the results are equally crispy and delicious.
- → What dipping sauces pair well with these strips?
Honey mustard, ranch, and spicy sriracha mayo are excellent choices. You can also try tzatziki for a Mediterranean twist, BBQ sauce for smokiness, or a simple lemon-garlic aioli. Serve sauces on the side for dipping.
- → Can I use chicken thighs instead of breasts?
Yes, chicken thighs work well and tend to stay juicier. Cut them into strips and follow the same breading and baking process. Thighs may take 2-3 minutes longer to cook through, so monitor the internal temperature carefully.