 Pin It
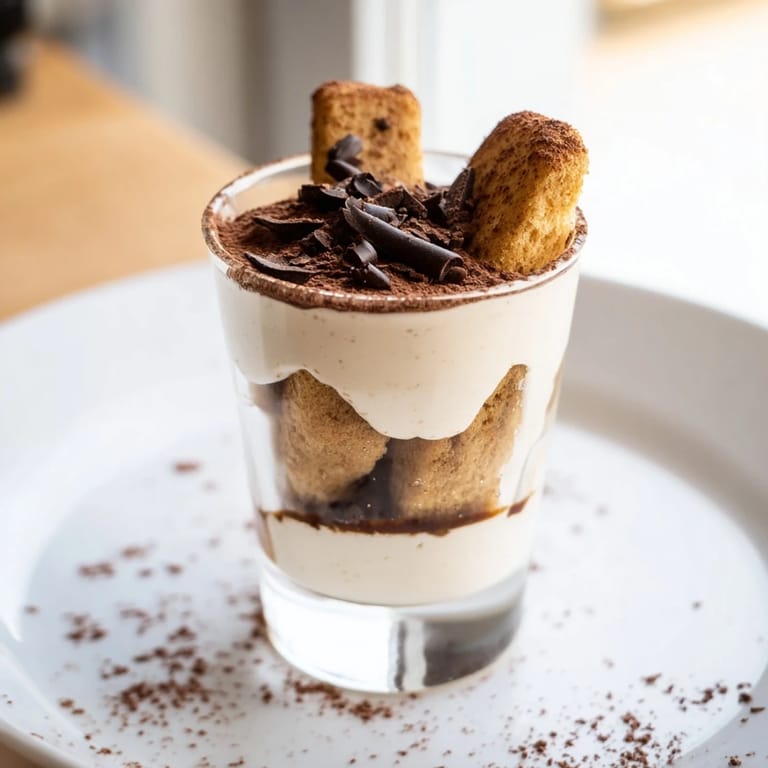
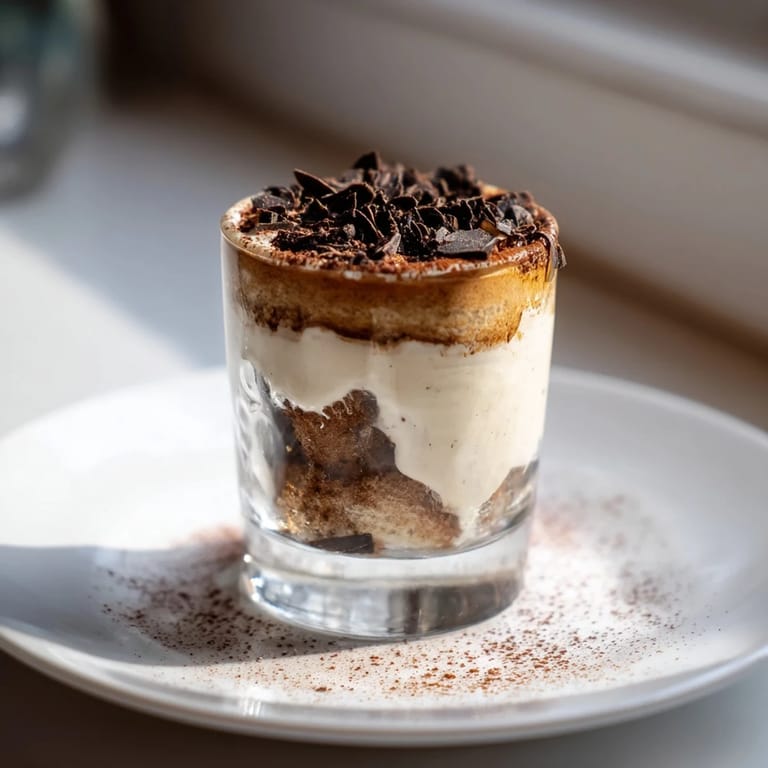
 Shot glasses and tiramisu seemed like an unlikely pairing until a friend brought these to a dinner party, and suddenly everyone was crowding around the dessert table like it was the main event. I watched people's faces light up as they discovered layers of espresso and cream in something small enough to hold in one hand, and I knew I had to figure out how to make them myself. What started as curiosity turned into my go-to party move—something that looks fancy but feels completely approachable to actually make.
I made these for my sister's book club, and what I didn't expect was the conversation that sparked when someone asked how I managed to get the layers so neat. We ended up talking about texture and flavor balance for twenty minutes while everyone polished off the last few shots, and that's when I realized these little glasses were doing something special—they weren't just dessert, they were an excuse to slow down and pay attention.
Ingredients
- Ladyfinger biscuits (savoiardi), 8 pieces: These Italian sponge cookies are the backbone of traditional tiramisu, and breaking them into bite-sized pieces is key because you want each piece to soak up just enough espresso without dissolving into mush.
- Freshly brewed espresso, 1/2 cup cooled: Use good espresso if you can—the quality matters here since it's one of only a few flavors in the shot, and the bitterness should be bold and clean, not burnt or stale.
- Coffee liqueur, 2 tbsp: Kahlúa or Tia Maria adds a sweet depth that softens the espresso's intensity, but you can skip it entirely if you prefer non-alcoholic versions.
- Mascarpone cheese, 1 cup at room temperature: Cold mascarpone won't blend smoothly, so take it out of the fridge about 30 minutes before you start mixing—this one detail changes everything about the texture.
- Heavy cream, 1/2 cup cold: The contrast between room-temperature mascarpone and cold cream actually helps create a lighter, airier texture when you fold them together.
- Powdered sugar, 1/4 cup: This sweetens the cream without adding grittiness like granulated sugar would, and it dissolves seamlessly into the mixture.
- Vanilla extract, 1 tsp pure: A small amount grounds the whole thing, preventing it from tasting one-dimensional and coffee-only.
- Unsweetened cocoa powder, 2 tbsp for dusting: The dusting goes on just before serving because cocoa powder can absorb moisture over time and lose its visual appeal.
- Dark chocolate shavings, optional: These are purely for showiness, but they do add a textural contrast that people appreciate.
Tired of Takeout? 🥡
Get 10 meals you can make faster than delivery arrives. Seriously.
One email. No spam. Unsubscribe anytime.
Instructions
- Mix your espresso base:
- Pour your cooled espresso into a shallow bowl and stir in the coffee liqueur until combined. This is where the flavor foundation lives, so taste it—you want it strong but not unpleasantly bitter.
- Dip and set aside the biscuits:
- Take each ladyfinger piece and dip it into the espresso mixture for just a second or two on each side. The key is restraint here; you're building moisture gradually through layers, not creating a soggy base.
- Prepare the mascarpone base:
- In a medium bowl, whisk together the room-temperature mascarpone, powdered sugar, and vanilla extract until the mixture is completely smooth with no lumps. Don't overthink this step—you're just looking for a uniform, creamy consistency.
- Whip and fold the cream:
- In a separate bowl, whip the cold heavy cream to soft peaks (the point where it holds a gentle shape but still looks billowy). Gently fold this into the mascarpone in two additions, folding just until combined to keep the texture light and airy.
- Layer the bottom of each glass:
- Drop a small handful of espresso-soaked ladyfinger pieces into the bottom of each shot glass, pressing down slightly so they settle but don't compress into a hard base.
- Add the first layer of cream:
- Spoon or pipe about a tablespoon of the mascarpone mixture over the biscuits in each glass, smoothing it level. You're building a foundation here, so make sure it's even.
- Layer again and finish:
- Add another small layer of soaked biscuits, then top with a final layer of cream, making it look intentional and neat. At this point you can dust with cocoa powder or wait until just before serving.
- Chill before serving:
- Place all the shots in the refrigerator for at least an hour so the flavors meld and the texture becomes perfectly set. This isn't optional—the cold transforms the separate layers into something cohesive.
 Pin It
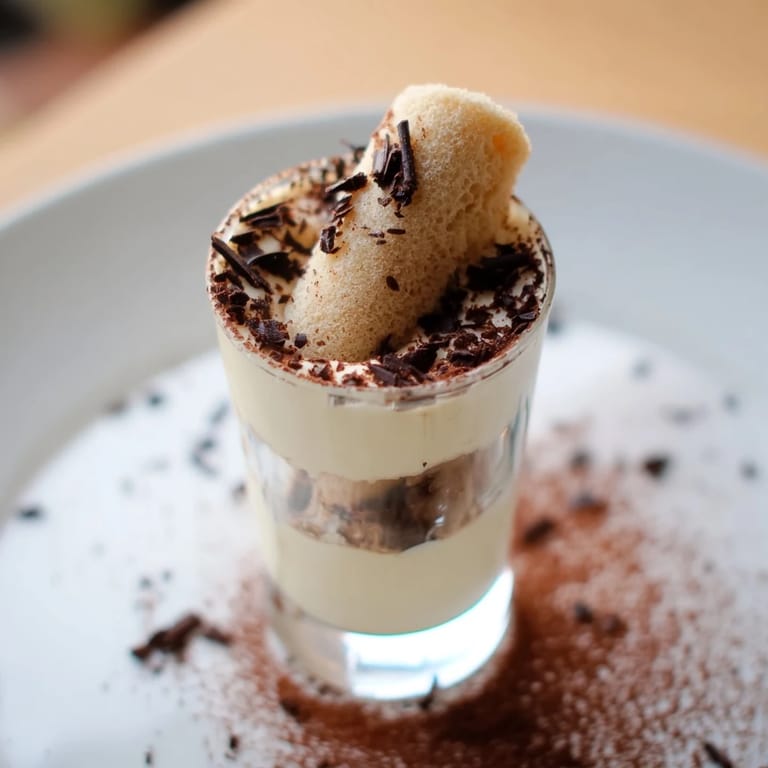
 My niece made these during her culinary school final project and brought them home, and I watched my usually reserved dad close his eyes after taking one. When he opened them again, he asked if she could teach him the technique, and suddenly it was less about a dessert and more about a moment of connection over something beautifully made.
Why These Shots Work for Parties
There's something about the psychology of a shot glass that makes people feel like they're getting away with something indulgent—it's a small, contained portion that somehow feels more sophisticated than a regular dessert. You can make them a day ahead, which means you're not juggling dishes while hosting, and because they're pre-portioned, guests grab one without awkward cutting or serving moments. The visual drama of the distinct layers also means you're spending minimal effort on plating but getting maximum impact.
Making Them Without Alcohol
If you're skipping the liqueur, simply use an extra 2 tablespoons of espresso in place of the coffee liqueur, and let it cool completely before dipping. The drink will taste slightly more bitter without the liqueur's sweetness, so you might increase the powdered sugar in the mascarpone mixture by a teaspoon if you find it needs balancing. Some people also add a tiny pinch of instant espresso powder directly into the mascarpone cream for extra depth without the liquid.
Storage and Make-Ahead Tips
These shots actually improve after sitting for a few hours as the flavors settle and the texture becomes more uniformly creamy. You can make them up to 24 hours ahead and keep them covered in the refrigerator, adding the cocoa powder and chocolate only right before serving. If you're making them earlier in the day for an evening event, the waiting time is actually your friend rather than a hassle.
- Cover the shots loosely with plastic wrap or place them on a covered tray so the cocoa powder doesn't absorb fridge odors.
- If you're substituting ladyfingers with gluten-free or sponge cake options, test-dip one piece first to gauge how quickly it absorbs liquid.
- Serve these cold straight from the fridge for the most refreshing contrast between the cool cream and rich espresso.
 Pin It
 These little shots taught me that sometimes the best party dishes are the ones that look like they took hours but actually asked for less than 20 minutes of active work. They're the kind of thing that makes people feel cared for without feeling like you sacrificed your entire day to feed them.
Recipe FAQs
- → How do I soak the biscuits without making them soggy?
Dip each ladyfinger briefly in the espresso and liqueur mixture to lightly moisten the surface without saturating, ensuring they keep their structure.
- → Can I make these shots non-alcoholic?
Yes, simply omit the coffee liqueur and replace it with additional espresso for the soaking mixture.
- → What can be used instead of ladyfinger biscuits?
Sponge cake or gluten-free biscuits can be substituted to accommodate dietary preferences or restrictions.
- → How long should the shots chill before serving?
Chill in the refrigerator for at least one hour to allow flavors to meld and the cream to set nicely.
- → Can these shots be prepared in advance?
Yes, assemble them ahead of time and store covered in the refrigerator for up to 24 hours for convenience.