 Pin It
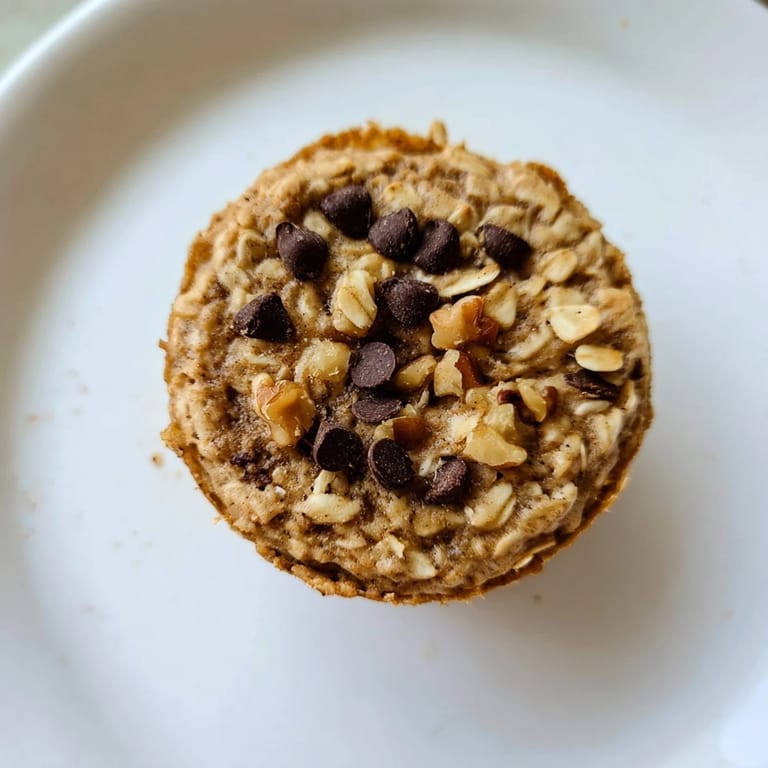
 I discovered these baked oatmeal cups scrolling through my phone at 6 AM, half-awake, watching someone crack eggs into mashed oats like it was the easiest thing in the world. The video had millions of views, but what caught me was the simplicity—no fancy equipment, just a muffin tin and breakfast reimagined. I made a batch that weekend out of pure curiosity, and by Tuesday I was reaching for them instead of cereal, still warm from the freezer and somehow better than the viral version.
My partner walked into the kitchen while I was pulling the first batch from the oven and the smell was so good they actually stayed to have one with coffee instead of rushing out the door. We sat there in our pajamas eating warm oatmeal from a muffin cup like it was the most natural breakfast in the world, and I realized this recipe wasn't just convenient—it was the kind of thing that makes mornings feel less hurried.
Ingredients
- Old-fashioned rolled oats: The texture hinges on these, not instant oats—they hold their shape and give you that satisfying chew.
- Light brown sugar: Packed down it dissolves into the wet mixture and keeps the cups tender, though you can swap for regular sugar if that's what you have.
- Baking powder: Just enough to give them a subtle lift so they're not hockey pucks.
- Cinnamon: This is where the warmth lives, but don't skip it—it's what makes them taste like breakfast.
- Eggs and milk: These two bind everything together and create that soft, almost custard-like crumb in the center.
- Applesauce: A small amount adds natural sweetness and keeps them moist without being wet; I learned this the hard way after making dense batches.
- Melted coconut oil or butter: Gives richness and helps them release from the liners cleanly.
- Vanilla extract: Sounds subtle but it's the invisible thread that ties the flavors together.
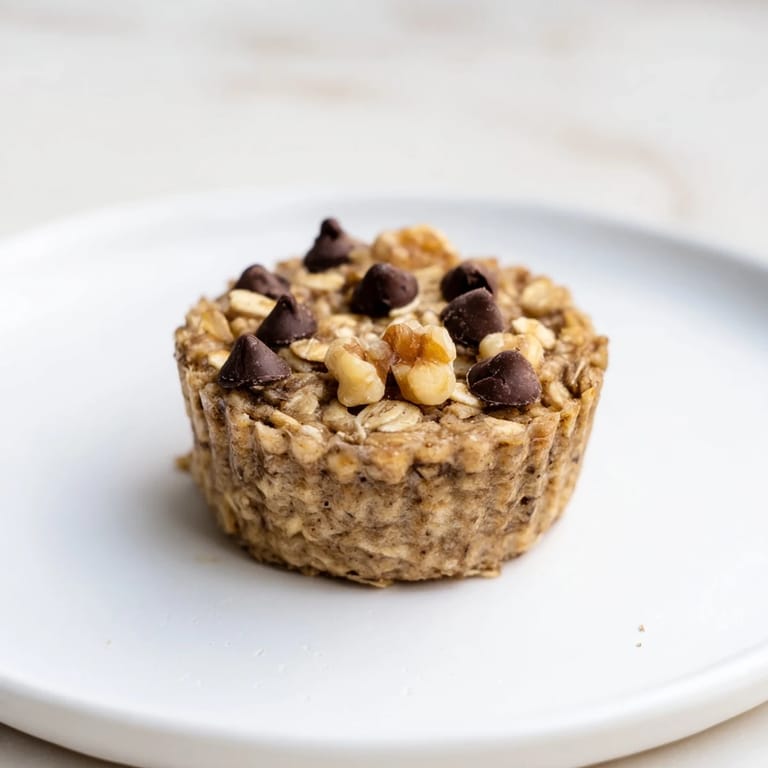
- Mix-ins: Fresh berries burst slightly and add juice, chocolate chips soften and distribute flavor, nuts stay crispy—pick what speaks to you.
Tired of Takeout? 🥡
Get 10 meals you can make faster than delivery arrives. Seriously.
One email. No spam. Unsubscribe anytime.
Instructions
- Prep your stage:
- Heat the oven to 350°F and line your muffin tin with paper liners or a quick spray of nonstick—this step takes 2 minutes and saves you from scraped fingernails later.
- Bring the dry mix together:
- Whisk oats, brown sugar, baking powder, cinnamon, and salt in a large bowl until the sugar breaks into small clumps and everything feels evenly mixed. Don't overthink this part.
- Build the wet base:
- In another bowl, whisk eggs and milk together first, then add applesauce, melted oil, and vanilla, stirring until completely smooth with no streaks of egg white. This takes about 30 seconds and makes all the difference in texture.
- Marry the two:
- Pour the wet ingredients into the dry bowl and stir with a rubber spatula until just combined—you want no dry oats visible, but don't overbeat it into a paste. The batter should look thick but pourable.
- Fold in what makes it yours:
- Gently fold in your chosen mix-ins, keeping the total to about 1 cup so the cups bake evenly. I usually go half berries, half something else.
- Fill and settle:
- Spoon batter evenly into muffin cups, filling each nearly to the rim—they won't rise dramatically, but you want them full so they stay moist inside. A small cookie scoop makes this foolproof.
- Bake until golden:
- Set the timer for 23–27 minutes depending on your oven; they're done when the tops feel set and look lightly golden, not pale. If you're unsure, a toothpick through the center should come out clean.
- Cool with patience:
- Let them sit in the tin for 5 minutes—this helps them firm up just enough to lift out cleanly—then move to a rack to cool completely. Warm ones are delicate and will crumble.
 Pin It
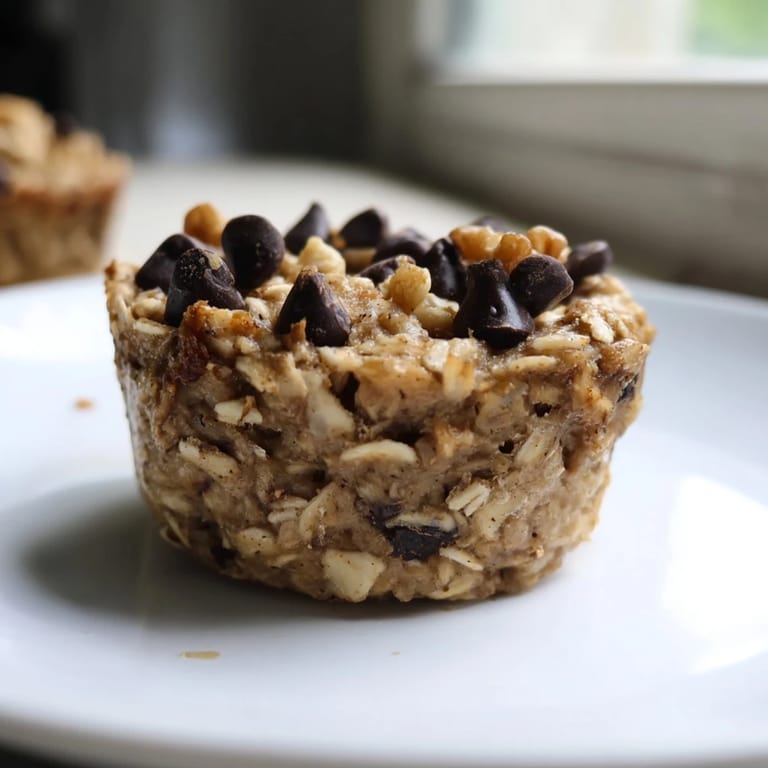
 I made a batch one Sunday evening thinking I'd eat them all before Thursday, but they stayed fresh and soft in the fridge until Friday morning when I finally finished the last one with actual gratitude. That's when I understood these weren't just convenient—they were reliable in a way that mattered for the week.
Storage and Make-Ahead Wisdom
Airtight container in the fridge keeps them good for 5 days, though I've pushed it to 6 without noticing much change. For freezing, I stack them in a freezer bag with parchment between each one so they don't cement together, and they thaw beautifully overnight on the counter or in about 90 seconds in the microwave if you're in a rush. The texture actually improves slightly after a day or two in the fridge as flavors settle, so don't feel like you need to eat them immediately.
Customizing Your Cups
The beauty of this recipe is that it accepts almost anything you want to add without changing the ratio—I've thrown in shredded coconut, chopped dates, pumpkin spice, even a pinch of cardamom when I was experimenting with fall flavors. Spices are your friend here; nutmeg adds warmth, vanilla bean paste makes them feel fancy, and a tiny bit of almond extract changes the whole profile. If you're using fresh berries they'll sink slightly and leave little juice pockets, which is exactly what you want.
Vegan and Dietary Swaps
For vegan cups, use flax eggs—mix 2 tablespoons of ground flaxseed with 5 tablespoons of water and let it sit 5 minutes until it thickens—and any plant-based milk and oil work beautifully. Certified gluten-free oats make these safe for anyone avoiding gluten, and the flavor doesn't change at all. Honestly, the vegan version is just as good, sometimes better, so don't hesitate if that's your path.
- A dairy-free kitchen means using coconut oil or a vegetable oil instead of butter, which actually makes them slightly chewier.
- Nut allergies are easy to navigate—swap nuts for seeds, more chocolate chips, or just leave that cup of mix-ins out entirely.
- If you need lower sugar, reduce the brown sugar by a quarter cup and add a bit more vanilla to keep the depth of flavor.
 Pin It
 These cups became my quiet victory in meal prep, the thing I actually looked forward to eating, not just something I felt obligated to finish. They're proof that breakfast doesn't have to be complicated to be worth your time.
Recipe FAQs
- → Can I make these oatmeal cups vegan?
Yes, substitute flax eggs (2 tbsp ground flaxseed mixed with 5 tbsp water) and use plant-based milk and oil to keep the texture moist and binding.
- → What mix-ins work best for these cups?
Fresh or frozen berries, mini chocolate chips, chopped nuts, and dried fruits like raisins or cranberries add flavor and texture.
- → How should I store baked oatmeal cups?
Store them in an airtight container in the refrigerator for up to 5 days or freeze for up to 2 months. Warm briefly before serving.
- → Can I make these gluten-free?
Use certified gluten-free rolled oats to ensure the cups are gluten-free, as some oats may contain gluten from cross-contact.
- → What tools are needed to prepare these cups?
You’ll need mixing bowls, a whisk, a 12-cup muffin tin, measuring cups and spoons, plus paper liners or nonstick spray.
- → Are these oatmeal cups suitable for meal prep?
Absolutely, they keep well in the fridge or freezer, making them perfect for grab-and-go breakfasts or snacks throughout the week.