 Pin It
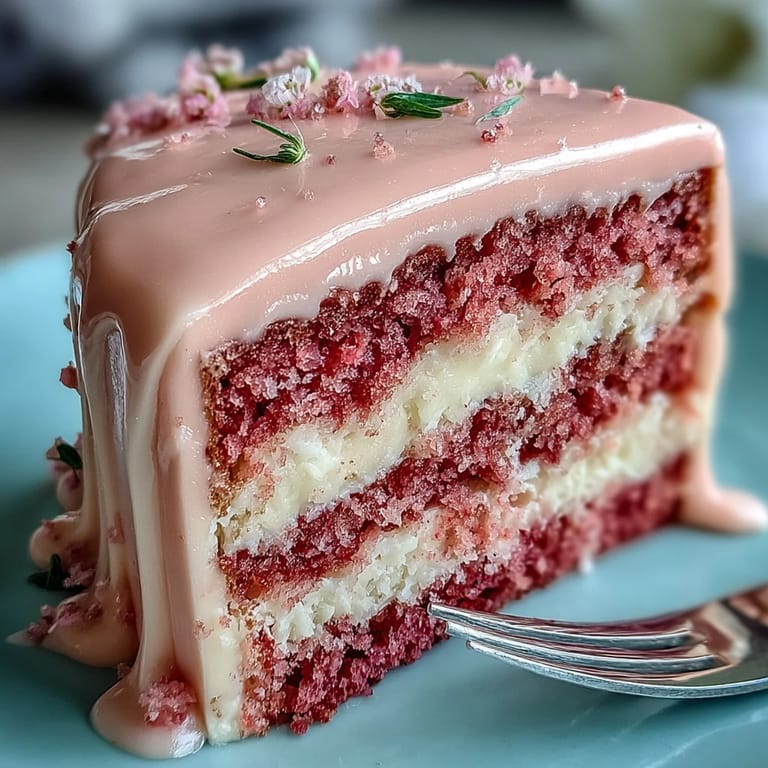
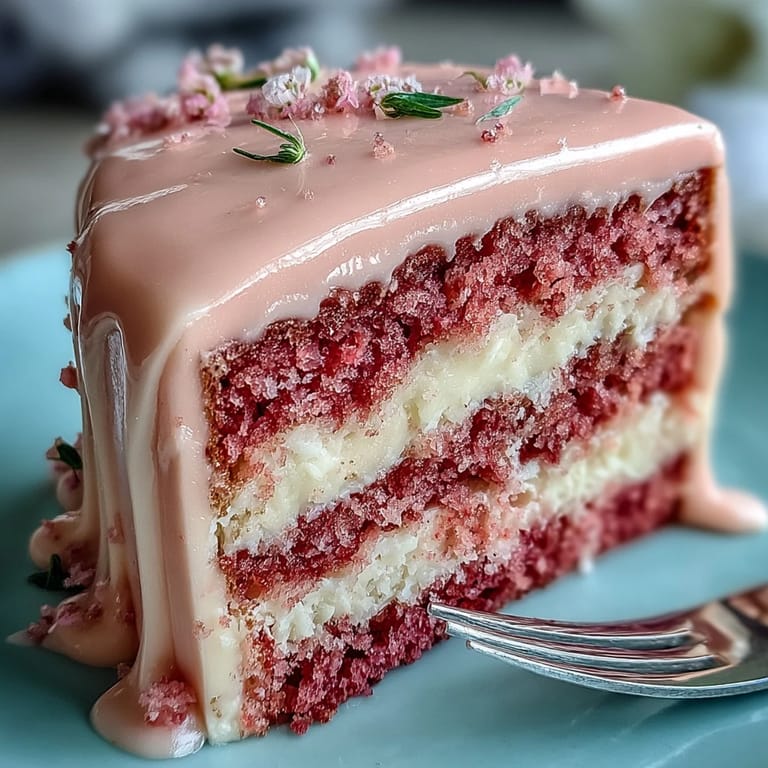
 The first time I prepared this Rosé Velvet Cake, my kitchen filled with the soothing aroma of butter and fresh wine, punctuated by the gentle sizzle of the mixer in the background. I was aiming for something both playful and polished—a centerpiece worthy of a bridal shower. As rose-scented air drifted over pink-stained fingertips, it struck me how baking sometimes feels as ceremonious as the event itself. I found myself humming between careful folds of batter, nerves giving way to laughter as a dusting of flour decorated my shirt. There's something utterly joyful about transforming simple ingredients into a showpiece that everyone will remember.
When I last baked this cake for my cousin's bridal shower, we were giggling over mismatched aprons as friends drifted in, lured by vanilla and cocoa. My niece tried to sneak a taste of the fluffy frosting while I experimented with dripping gold against pink. The chatter and shared anticipation felt just as sweet as the cake itself, with every layer mirroring the excitement of new beginnings. Even the mess—flecks of chocolate and smears of luster dust—felt festive in the company of good friends. That afternoon, this cake helped us mark memories in buttercream and laughter.
Ingredients
- All-purpose flour: Sift this for the softest crumb; a kitchen scale helps get it just right every time.
- Granulated sugar: Cream this well with butter for that tender, almost melting texture.
- Baking soda & baking powder: The secret to lofty layers; always check they're fresh before baking.
- Salt: Just enough to balance and deepen the delicate sweetness.
- Unsweetened cocoa powder: Brings a gentle richness; use Dutch process for a smoother color and subtlety.
- Unsalted butter: Let it soften fully so it emulsifies beautifully into the mix.
- Buttermilk: Brings classic velvet cake tang and extra moisture; don't substitute with milk if you want the real deal.
- Rosé wine: Gives that summery sparkle and color; use your favorite dry rosé for the best flavor.
- Large eggs: Room temperature eggs blend more easily, creating an even crumb in the cake.
- Vanilla extract: Adds warmth and depth; real is best, but even store brand will do in a pinch.
- White vinegar: Reacts with the baking soda for lightness and a tender bite.
- Pink food coloring gel: Adds the signature blush; gel keeps the batter thick and vibrant without watering it down.
- Cream cheese: Softened cream cheese ensures the frosting is ultra-smooth and easy to spread.
- Powdered sugar: Sift before mixing for lump-free, fluffy frosting every time.
- Heavy cream: Makes the gold drip perfectly glossy; be careful not to overheat.
- White chocolate chips: Melt these slowly for a silky drip; don't rush, or it may seize.
- Edible gold luster dust: A little goes a long way, painting on that dazzling finish with just a touch.
- Vodka or clear extract: Helps the gold dust glide on; don't skip this, or the luster won't stick evenly.
- Parchment paper & pans: Line pans for easy release—your cakes will thank you during assembly.
Tired of Takeout? 🥡
Get 10 meals you can make faster than delivery arrives. Seriously.
One email. No spam. Unsubscribe anytime.
Instructions
- Prep the pans:
- Grease and line three 8-inch cake pans with parchment – it's far easier to get cakes out without drama later.
- Sift dry ingredients:
- Flour, cocoa, baking powder, baking soda, and salt go through the sifter together; the cocoa will tint the flour a dusty rose that always makes me pause to appreciate.
- Cream butter and sugar:
- Beat until pale and fluffy, about three minutes – you'll hear the change in sound as it whips up light and airy.
- Add eggs and vanilla:
- Crack in eggs one at a time, blending well before drizzling in vanilla; look for a lush, glossy batter by this step.
- Mix wet ingredients:
- Combine buttermilk, rosé wine, and vinegar; the buttermilk’s tang and rosé's blush make for a fragrant mixture.
- Combine and color:
- Fold the dry ingredients in, alternating with your rosé mix; a rubber spatula and a gentle touch keep things tender. Add pink coloring gel slowly until the blush is just right.
- Bake:
- Divide batter between pans, smoothing the tops. Bake 30–35 minutes – your kitchen will smell like a patisserie and vineyard combined.
- Cool the cakes:
- Let cakes sit 10 minutes, then flip onto wire racks. Resist the urge to frost while warm – patience here saves many tears (and melty frosting).
- Make the frosting:
- Beat softened butter and cream cheese until dreamy. Add powdered sugar, then rosé, vanilla, and salt, beating until slow, thick billows form.
- Assemble and chill:
- Trim cake tops if needed. Stack layers with frosting in between, smooth a crumb coat all around, and chill for 30 minutes before finishing with a final coat.
- Prepare the gold drip:
- Melt white chocolate chips with heavy cream in short microwave bursts; stir patiently until smooth. Let cool to lukewarm, then drip over the cake's edge just enough for a chic cascade.
- Add gold luster:
- Blend luster dust with vodka or extract and brush gently over each drip for a metallic shimmer. I usually do this in soft, circular strokes for a perfectly gilded look.
- Final chill and serve:
- Let the cake rest in the fridge for at least 30 minutes—this sets the frosting and keeps the gold pristine until showtime.
 Pin It
  Pin It
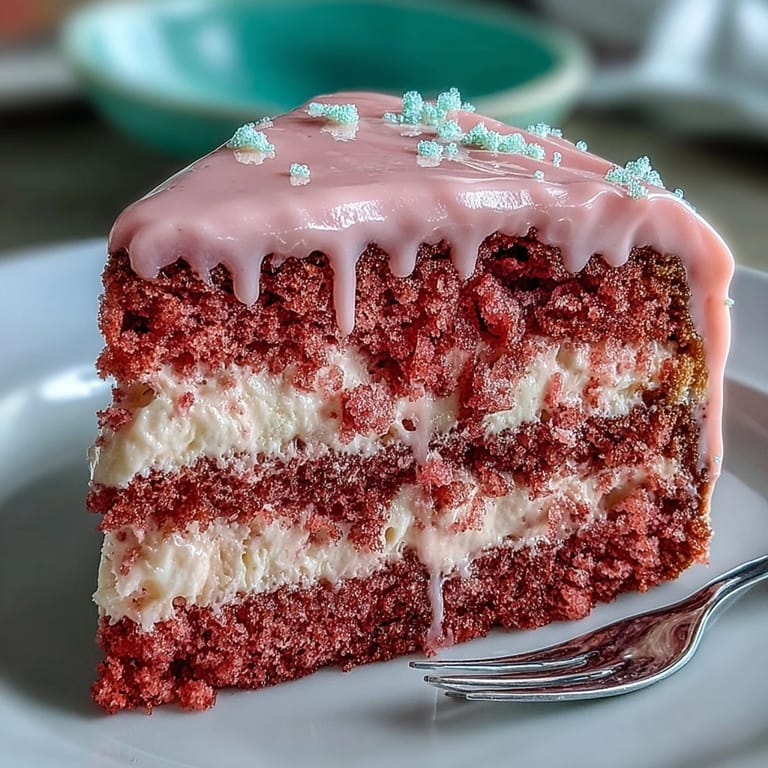
 There's a snapshot in my mind of the finished cake perched on the table, glowing in the afternoon sunlight, as guests paused mid-conversation to admire its shimmer. In that fleeting moment, the cake was more than dessert; it was a promise of joy and a photo-worthy centerpiece for an unforgettable day.
How to Get a Smooth Frosting Finish
Cold offset spatulas and long, steady strokes work wonders for leveling out cream cheese frosting. I like to stand back, give the cake a slow turn, and spot any little ridges or bumps before the final pass—it makes the difference between homemade and bakery-finished.
Working with Edible Gold Luster
The first time I tried painting on gold, I used too much liquid and watched my dazzling finish slide off in streaks. Now, I dip just the tip of a barely damp brush into luster dust, mixing with tiny drops of vodka until it's almost the consistency of watercolor paint.
Effortless Layering for Stunning Slices
Leveling each cake layer gives those crisp, beautiful slices everyone marvels at when serving. A serrated knife, a gentle touch, and a quick spin on a lazy Susan ensure even tiers and neat assembly.
- Freeze cake layers for 30 minutes to reduce crumbs while assembling.
- Apply a crumb coat to lock in stray crumbs before adding the main layer of frosting.
- Use a piece of parchment as a collar at the cake base for a cleaner decorating space.
 Pin It
  Pin It
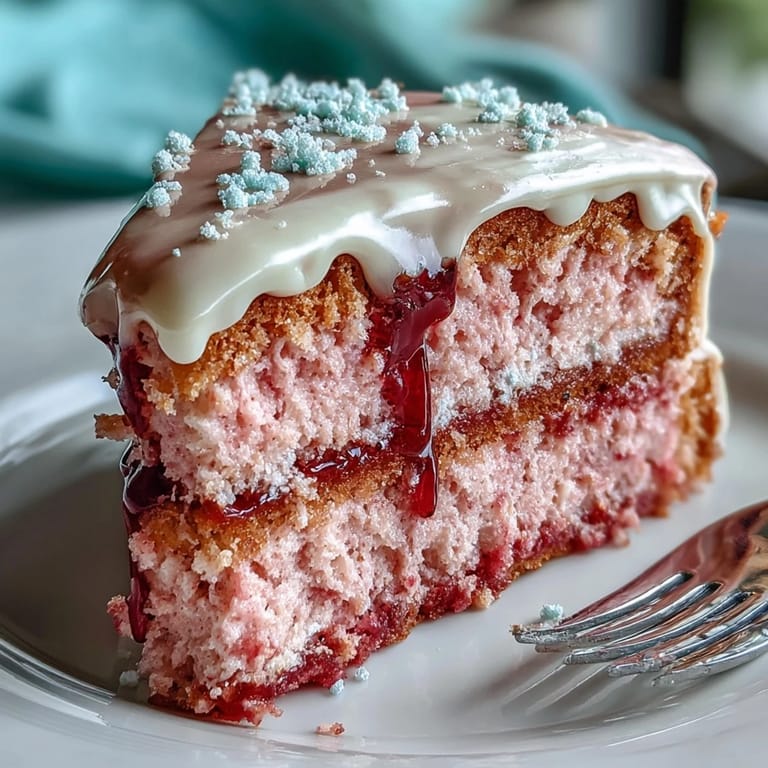
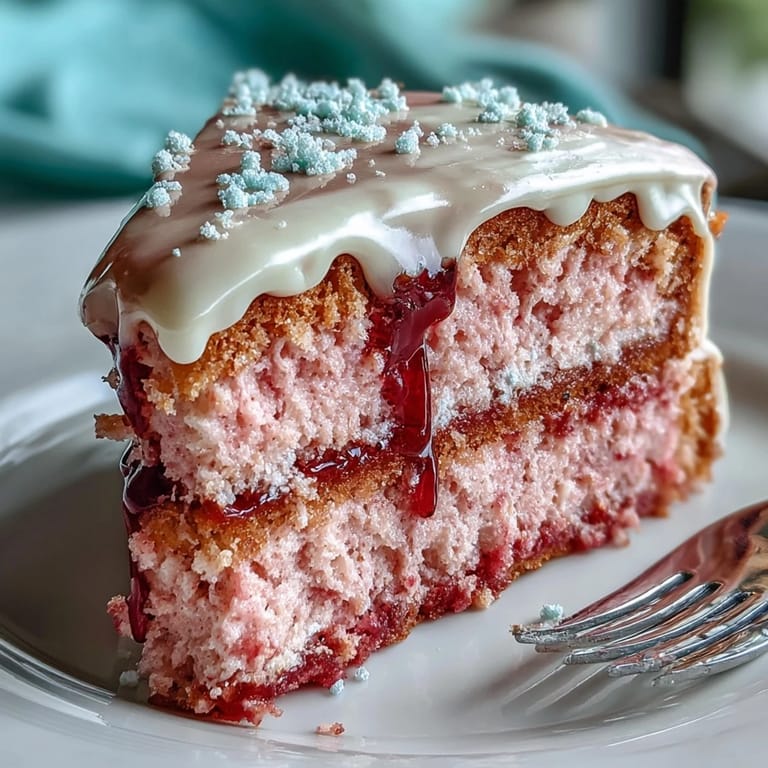
 If you're looking for a cake that effortlessly steals the spotlight while leaving everyone swooning over the flavor, this Rosé Velvet Cake will do just that. Bake it with a confident heart—and don't forget to sneak yourself an extra forkful before the celebration begins.
Recipe FAQs
- → How can I boost the rosé flavor without making the crumb soggy?
Lightly brush cooled layers with a small amount of rosé or a reduced rosé syrup to concentrate flavor. Apply sparingly between layers so the cake stays tender but not wet.
- → What gives the cake its even blush color?
Use gel food coloring added a little at a time and fold gently for an even hue. Gel gives strong color without thinning the batter, while gradual mixing prevents streaks.
- → How do I achieve a smooth, stable cream cheese frosting?
Start with room-temperature butter and cream cheese, beat until fully smooth, then add sifted powdered sugar gradually. Chill briefly if frosting becomes too soft before final assembly.
- → What’s the best way to make a clean gold drip?
Make a white chocolate ganache with warm cream and white chocolate, cool until slightly thickened, then drip from the edge. Paint on edible gold luster dissolved in a small amount of clear extract or food-grade alcohol for a bright finish.
- → Can I prepare components in advance?
Yes—baked layers can be wrapped and chilled or frozen. Frosting keeps refrigerated; assemble and chill to set the crumb coat before final frosting and dripping the chocolate.
- → How should I store the finished cake?
Store covered in the refrigerator for up to 3 days to protect the cream cheese frosting and gold finish. Bring to room temperature 30–60 minutes before serving for best texture.